Change access rights (without Active Directory)
Note
Machine translation from the German version. In case of doubt, the content of the German version shall prevail.
This guide can be used on Windows, Mac, and Linux.
Requirements
To change access rights on a file share, you need an RUB login ID and full access to the file share you want to modify. Additionally, the Omnissa Horizon Client must be installed on your device. The instructions do NOT work via the web version but only through the client, which you can download here. You must also be registered by IT.SERVICES in the appropriate LDAP group for the application, otherwise the corresponding application will not be displayed in Horizon.
Instructions
Step 1
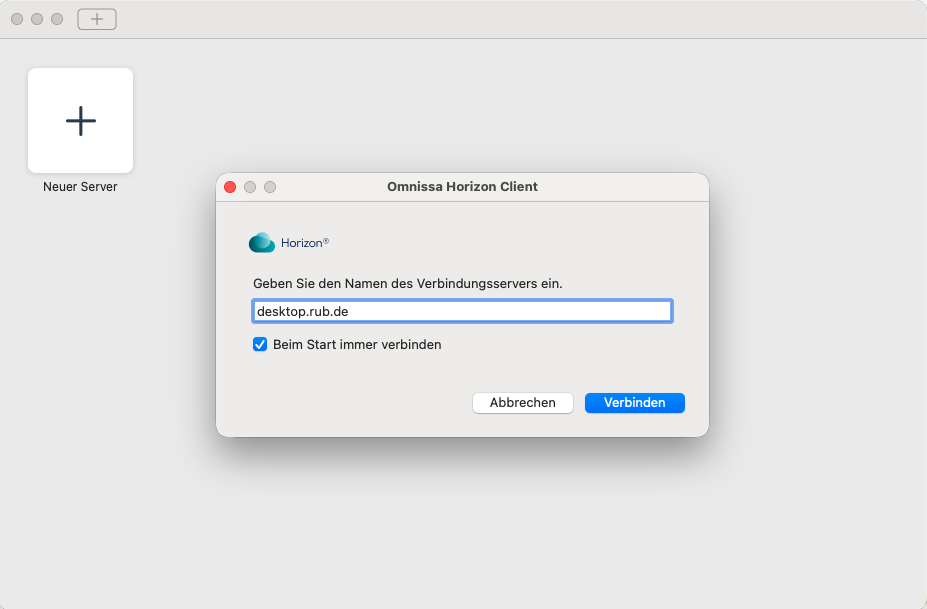
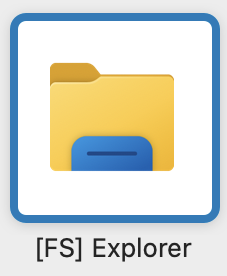
Start the Omnissa Horizon Client and click on “New Server”. Enter "desktop.ruhr-uni-bochum.de" as the Connection Server. Click on "Connect" and log in with your RUB login ID. Then double-click to open the FS Explorer. It may take a moment for the FS Explorer to open.
Step 2
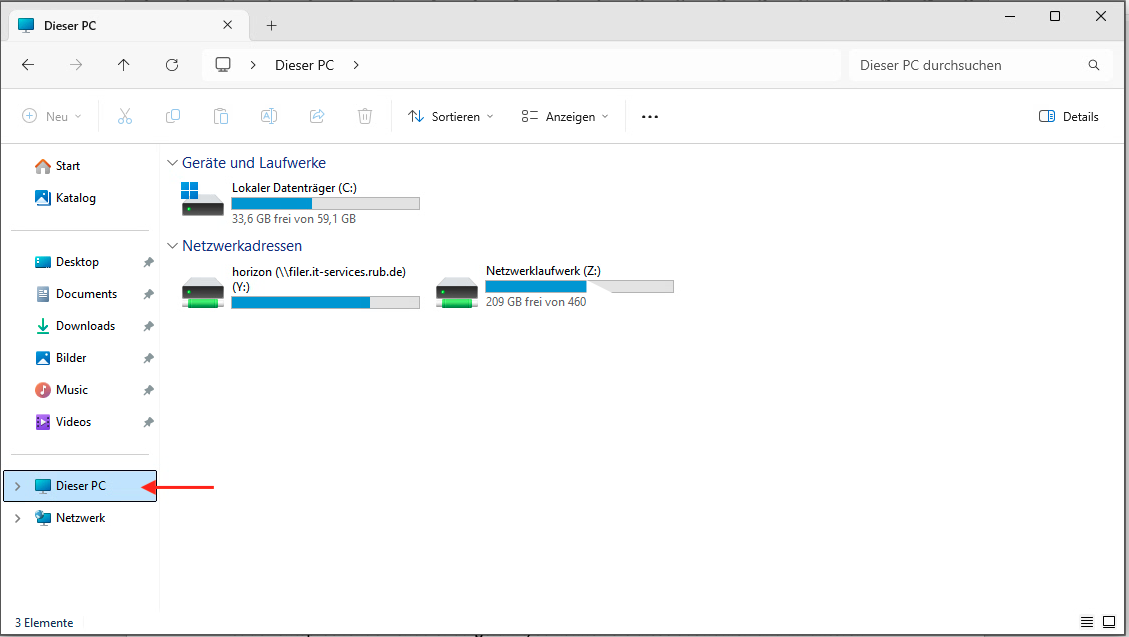
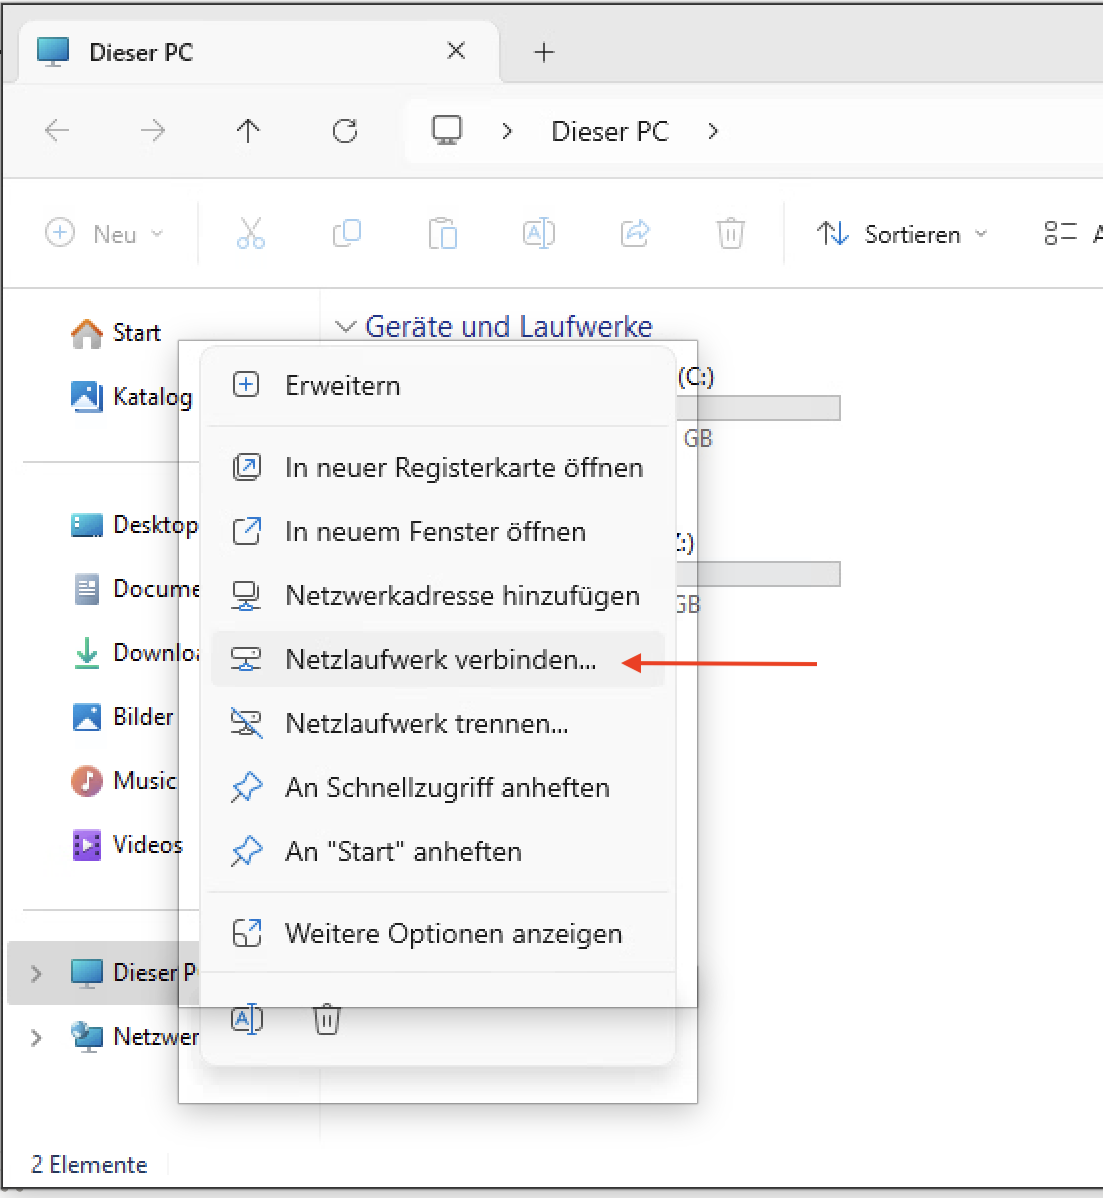
Now connect the network drive you want to edit. To do this, right-click on "This PC" and then select "Map network drive..." from the menu. Enter the name of the desired network drive. Make sure to use backslashes () in the file path. There should be two backslashes at the beginning. E.g.: \filer.it-services.ruhr-uni-bochum.de\beispiel Once you have entered the path, click "Finish". The contents of the connected network drive will now be displayed. To change the permissions, go back to "This PC". The connected network drive should now be visible here.
Step 3
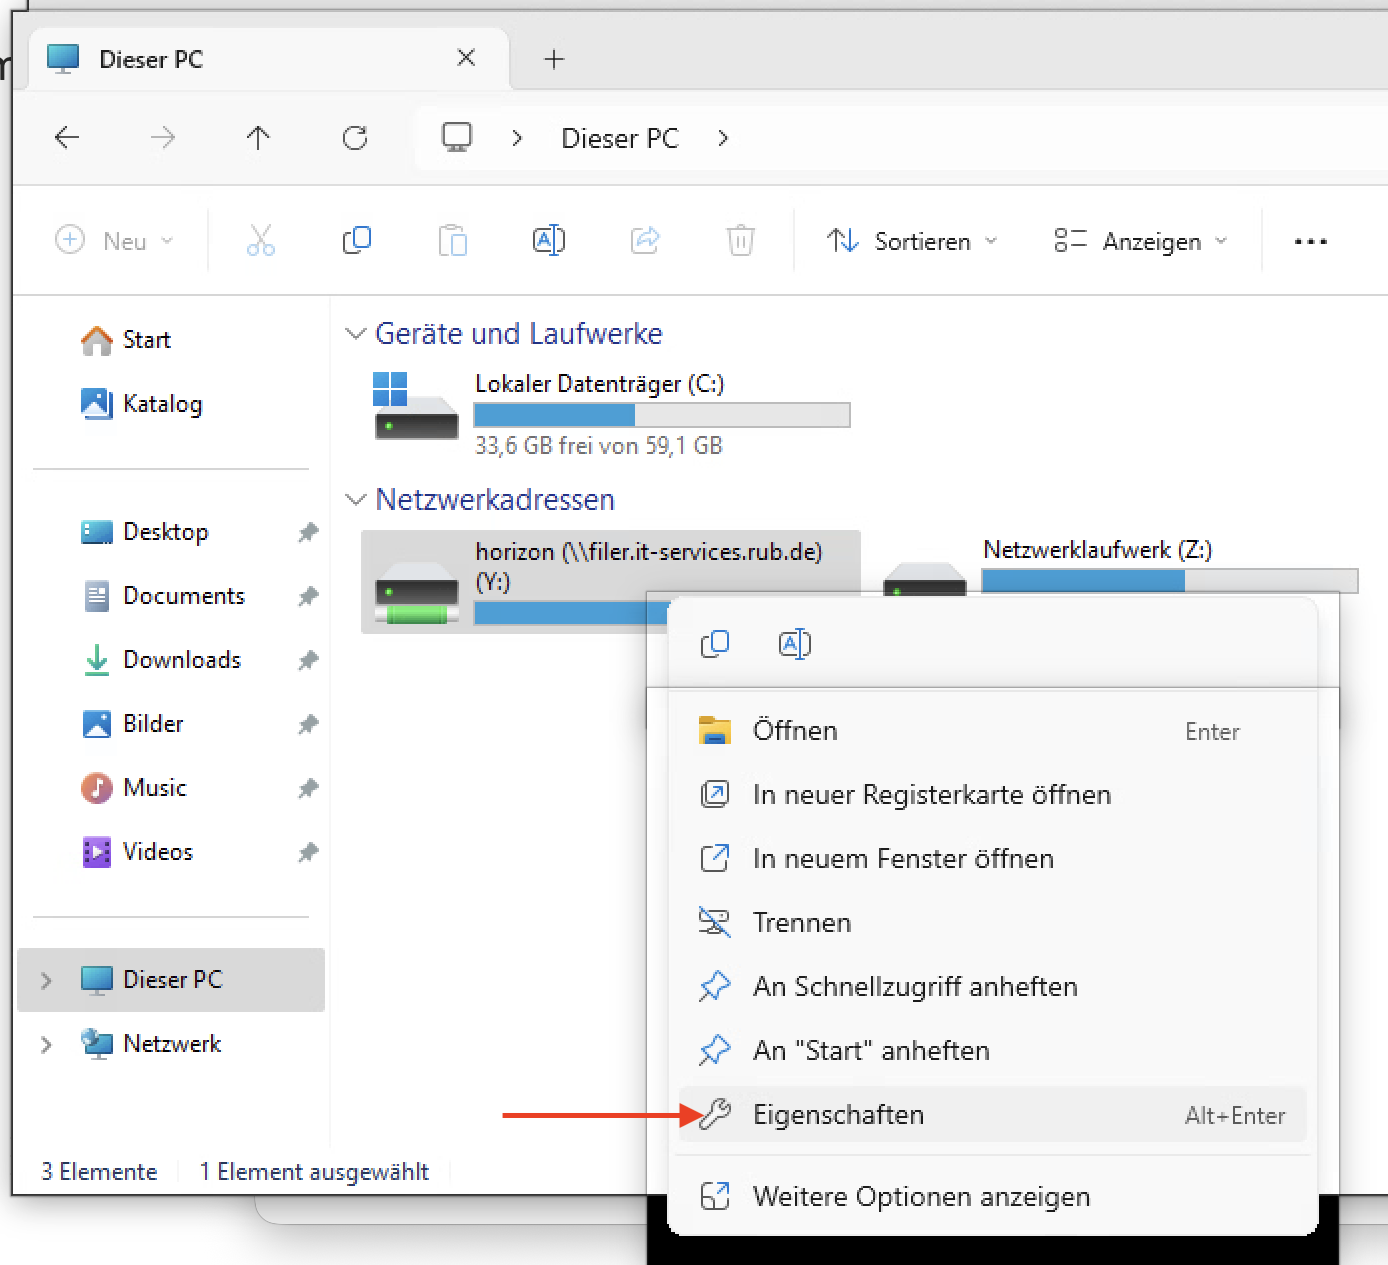
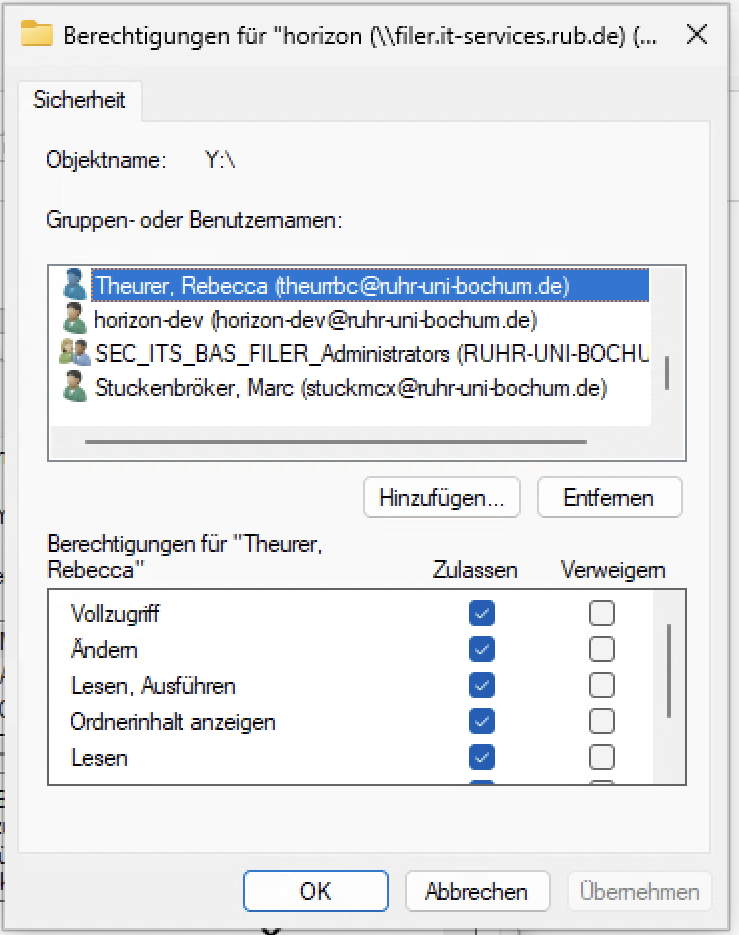
Right-click on the network drive and select “Properties”. A menu will open. Select the “Security” tab and click on “Edit…”. The adjacent menu will be displayed.
Step 4
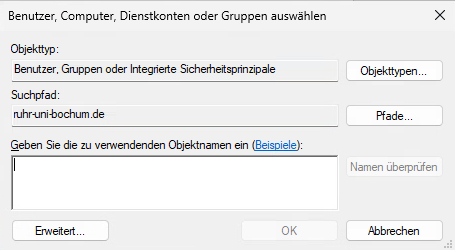
If the respective user does not yet appear in the list, you can add them as follows: Click on “Add…”. Then enter the corresponding RUB login ID as the object name. Click on “Check Names”. The correct email address should now appear. Click “OK” to add the selected person.
Step 5
If the corresponding user is listed, you can select them and grant permissions in the lower part of the view by checking the appropriate boxes. Confirm the settings with "OK". For more information on the different access rights, visit the Microsoft website.
CONTACT & HELP For questions and problems, please contact our Helpdesk at: its-helpdesk@ruhr-uni-bochum.de